


Introduction: Why Personalization Matters in 2025
In 2025, fashion is defined by intent. Consumers increasingly choose brands that combine fit, sustainability, and inclusivity. Flying Tomato checks those boxes for many plus-size shoppers, offering well-constructed pieces in responsible fabrics and sizes that work. But the real power of a wardrobe comes when garments reflect the person wearing them. This long-form guide walks you through transforming Flying Tomato staples into signature pieces you’ll reach for again and again, while honoring sustainability and mindful consumption.
How This Guide Helps You
- Practical personalization projects you can do at home or with a tailor
- Detailed tailoring and alteration advice for flattering plus-size fits
- Step-by-step styling formulas for everyday outfits and special occasions
- Care, repair, and longevity practices that keep pieces in rotation
- Capsule-building strategies that center Flying Tomato pieces
- Budget and sourcing guidance to make personalization affordable and sustainable
Understanding the Foundation: Why Flying Tomato Works for Personalization
Before you personalize, understand why the brand is a strong canvas. Flying Tomato designs with inclusive patterns, reliable construction, and sustainable materials such as organic cotton, Tencel, linen blends, and recycled fibers. These fabrics accept alterations, hold embellishments, and tolerate low-heat dyeing and embroidery better than many synthetic blends. The result: small investments yield long-lasting, beautiful changes.
Choosing the Right Staples to Personalize
Not every garment is equally suited to heavy personalization. Start with pieces that are versatile, well-made, and frequently worn.
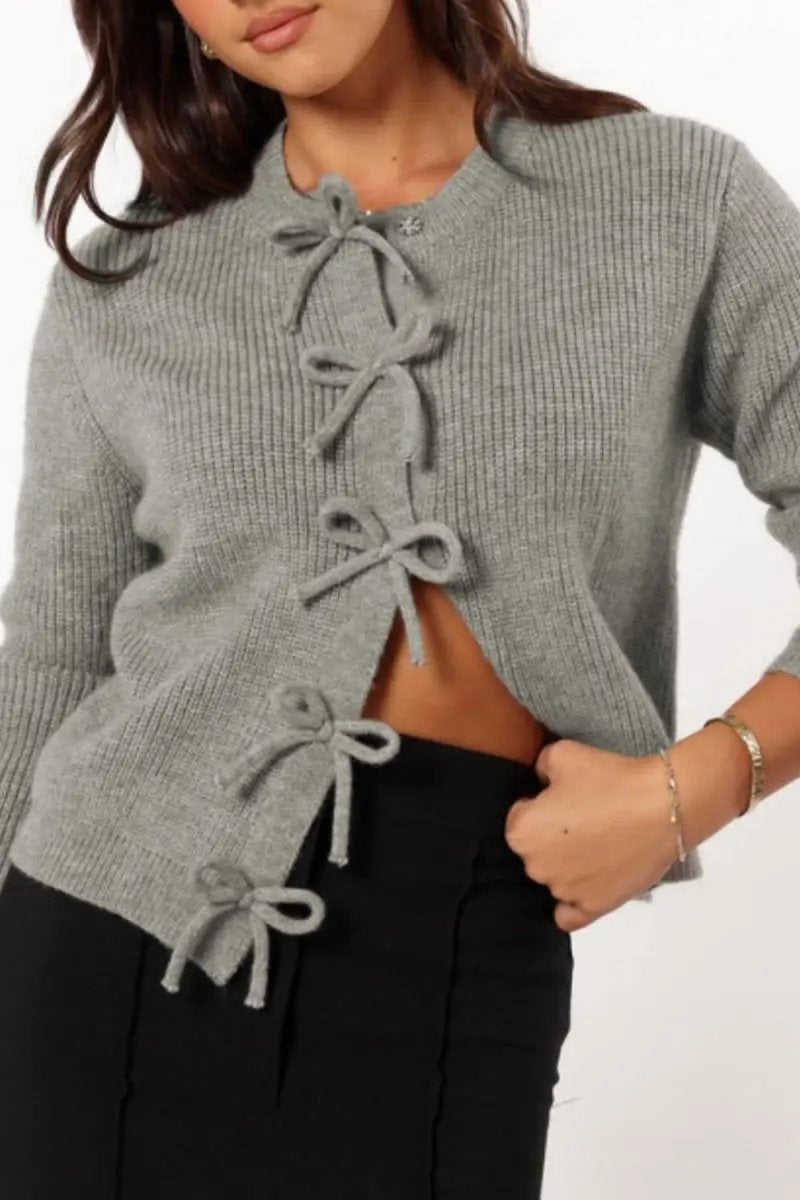
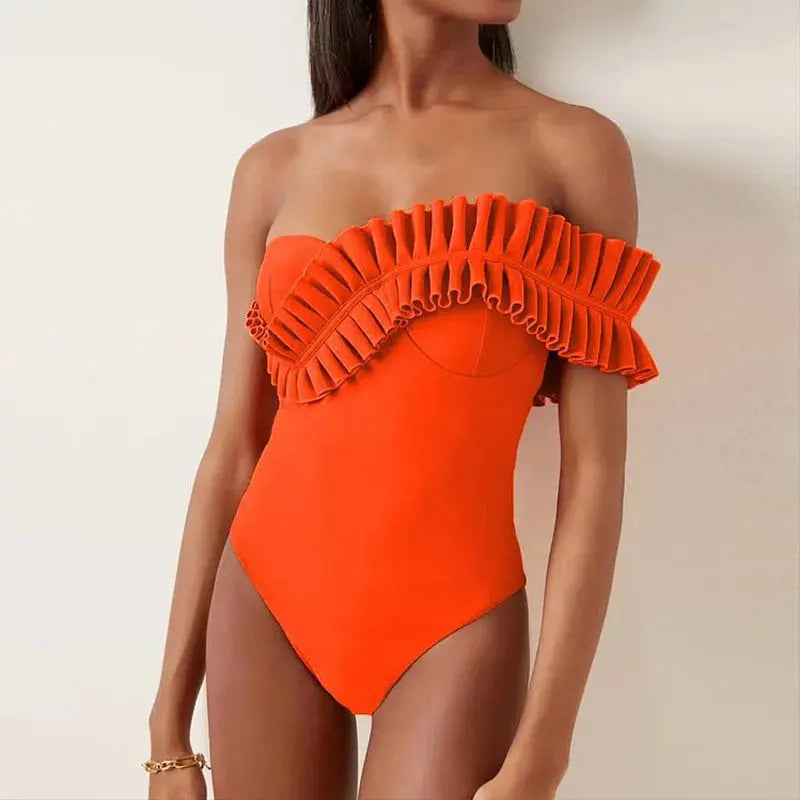
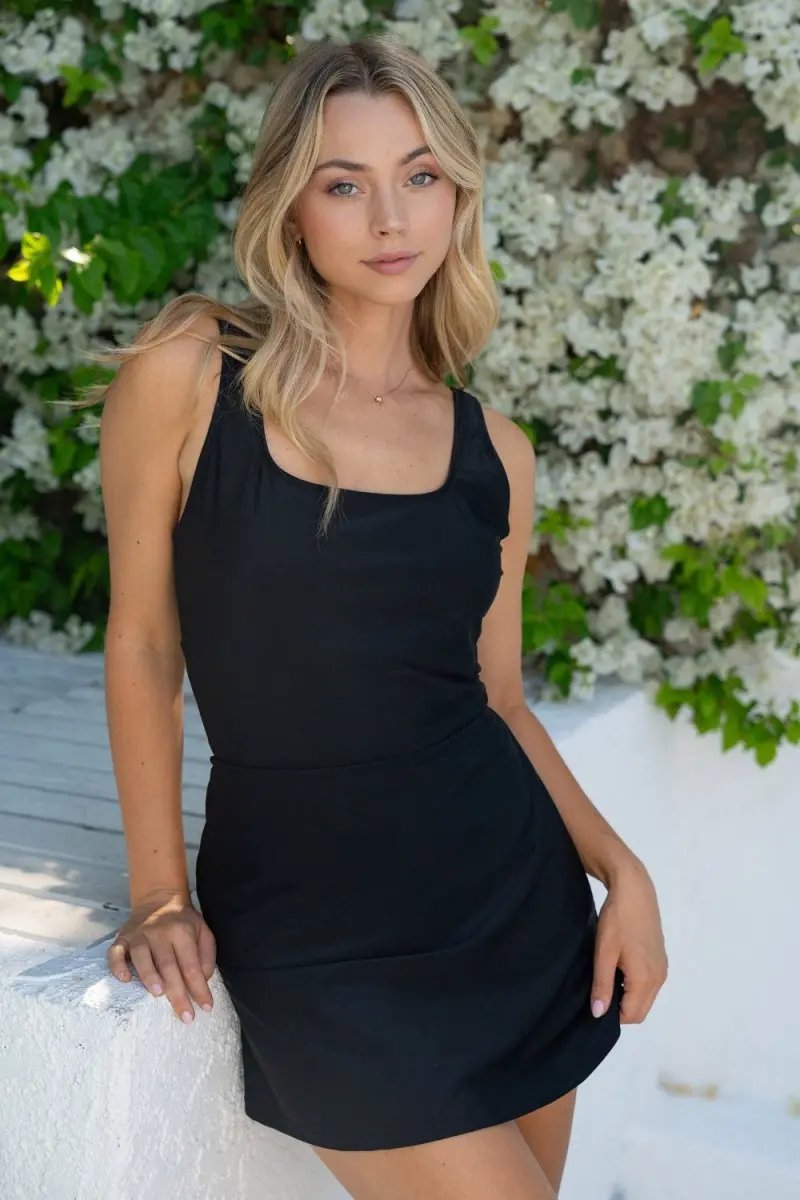
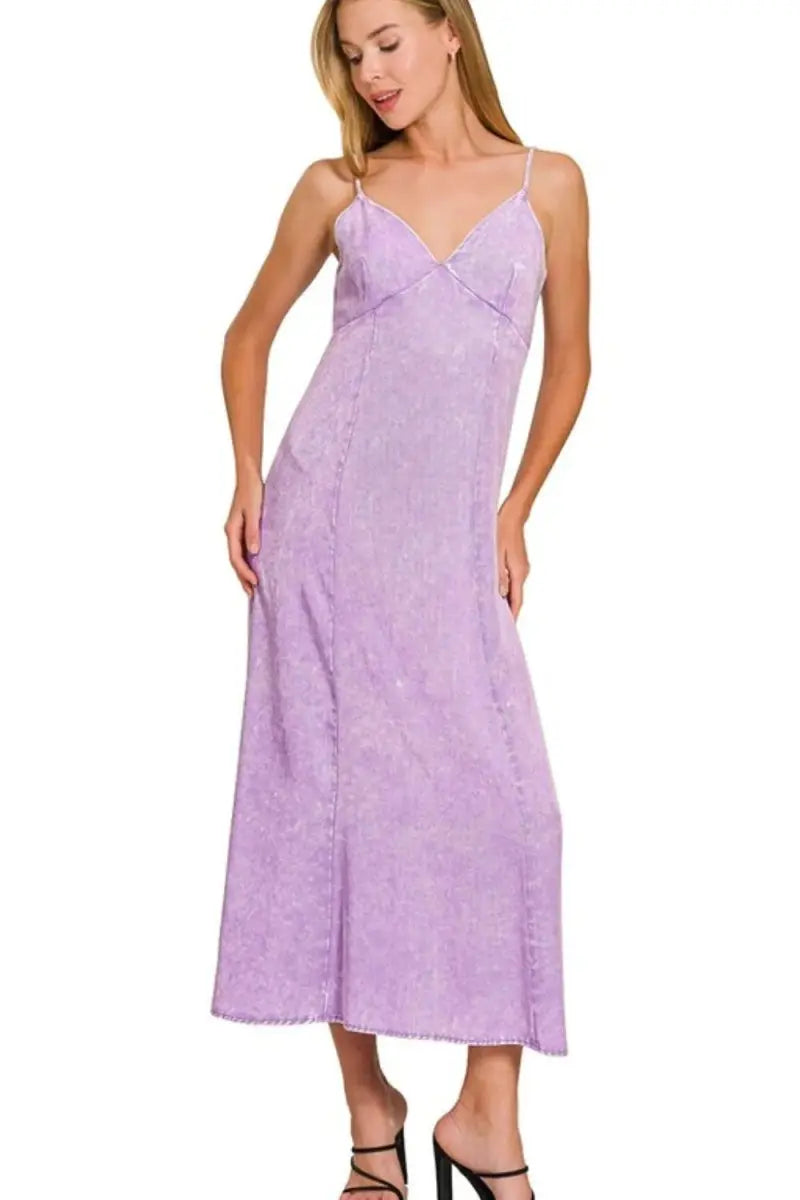
- Wrap dresses and shirtdresses: natural waist definition and classic lines make them ideal for trims, embroidery, and Belting.
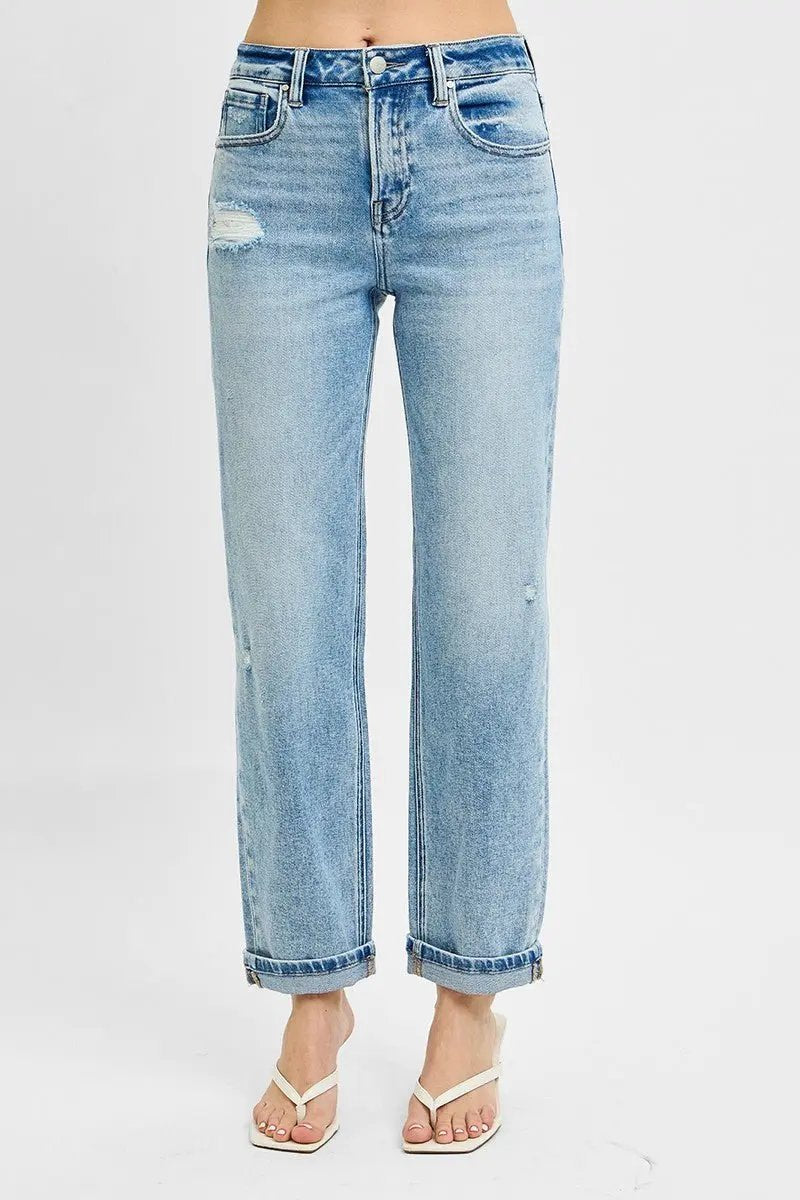
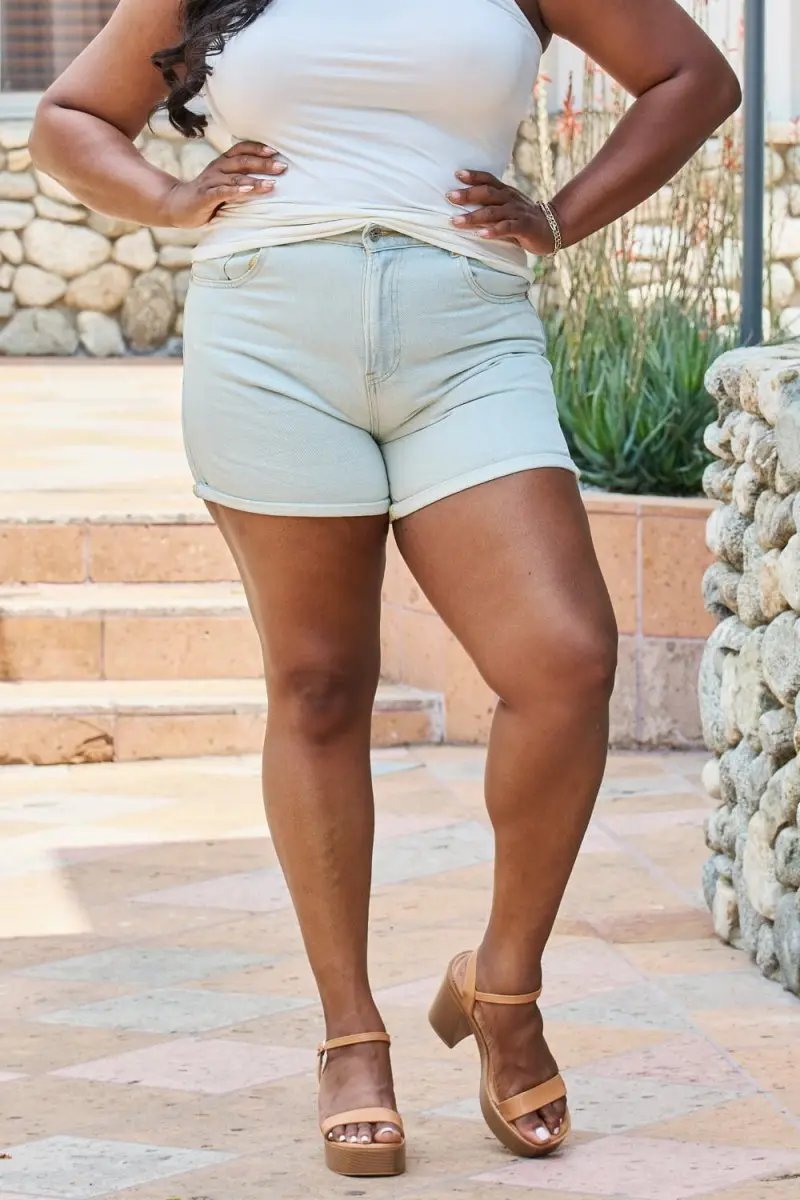
- High-rise trousers and wide-leg pants: can be hemmed, have waistbands altered, and take new hardware.
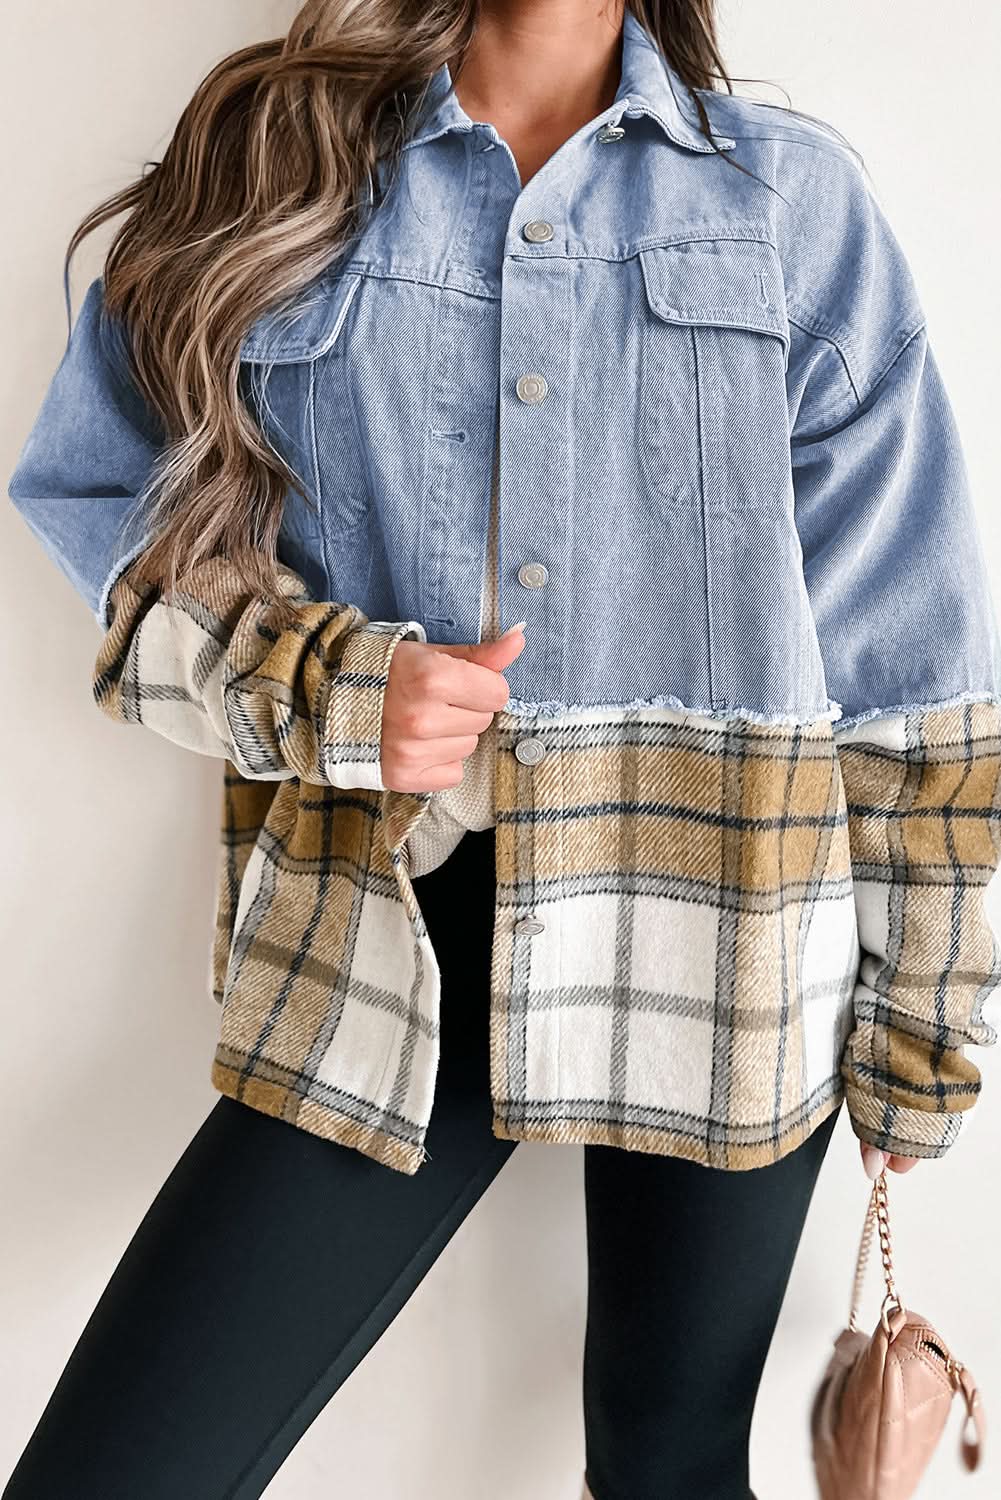
- Structured blazers and utility jackets: excellent for swapping buttons, adding lining details, or changing cuffs.
- Knit tops and cardigans: suitable for visible mending, embroidered motifs, and applique patches.
- Outerwear and coats: changeable buttons, lining accents, and hardware upgrades make dramatic yet practical personalization.
Fit First: Detailed Tailoring and Alteration Advice
Fit transforms a garment. In plus-size clothing, proportion, shoulder fit, and waist placement are key.
- Essential measurements: bust at fullest point, high bust, underbust, waist at natural crease, hip at fullest point, shoulder width, sleeve length, rise for pants.
- Common plus-size alterations and when to do them:
- Taking in side seams: for oversized boxes or blouses to reveal shape
- Adjusting shoulder seams: fixes droopiness and reshapes sleeve hang
- Shortening/lengthening hems: changes proportions dramatically for balance
- Tapering trousers at the ankle or adding a cuff: modernizes wide-leg shapes
- Waistband alterations: essential for dresses and pants to avoid gaping
- Sleeve adjustments: shorten or slim sleeves to make layers easier
- How to work with a tailor:
- Bring reference photos of the silhouette you want.
- Pin or baste adjustments before committing; ask for a try-on session.
- Prioritize low-risk adjustments first; for knits, ask the tailor about stabilizing seams.
- Cost expectations: Minor alterations often cost $15–$50; major reshaping can be $75–$200 depending on complexity and region. Consider these as long-term investments in sustainability.
DIY Personalization Projects: From Simple to Advanced
If you enjoy hands-on projects, these personalization ideas are accessible and impactful. Each project includes a materials list and brief workflow so you can get started quickly.
1. Swapping Buttons and Hardware (Beginner)
- Why: Buttons change the character of a blazer, dress, or cardigan instantly.
- Materials: New buttons or vintage finds, needle, matching thread, small pliers for shank buttons.
- How-to: Remove old buttons carefully, mark placement, sew on new buttons with secure knots. For shank buttons, use a small fabric washer on the back for stability.
- Time: 15–45 minutes per garment.
2. Visible Mending and Decorative Patches (Beginner–Intermediate)
- Why: Repair extends garment life and adds unique character while signaling sustainability.
- Materials: Embroidery thread or yarn, darning needle, patch fabric or mending cloth, iron-on glue if desired.
- How-to: For small holes, stabilize with an iron-on patch behind the hole, then use running stitch or sashiko-style stitches to cover. For decorative patches, finish raw edges with blanket stitch or machine topstitching.
- Style tip: Use contrasting thread for a handmade aesthetic or tone-on-tone for subtlety.
3. Trim and Piping Additions (Intermediate)
- Why: Piping along hems, collars, and cuffs creates a designer look and highlights structure.
- Materials: Piping cord, matching or contrasting fabric, sewing machine, zipper foot.
- How-to: Create piping with bias-cut fabric wrapped around cord, then attach to seam allowance before sewing main seam. Use piping on blazer lapels, pocket edges, or dress hems for a signature detail.
4. Small-scale Embroidery and Monogramming (Intermediate)
- Why: Small motifs and initials make garments personal without overwhelming the piece.
- Materials: Embroidery floss, stabilizer, embroidery needle, hoop, tracing pen.
- How-to: Trace design on a stabilizer placed behind fabric. Use satin stitch for filled shapes, backstitch for outlines, and French knots for texture. Start with 1–3 small motifs placed near hems, cuffs, or pockets.
5. Low-Temperature Dye and Color Accents (Advanced)
- Why: Slight toning or dipped hems add depth and modernity while respecting fabric integrity.
- Materials: Fiber-reactive or low-impact dyes appropriate for fabric type, large plastic tub, salt or fixative as required, rubber gloves.
- How-to: Test on a hidden seam. For dip-dye, submerge hem gradually and hold before rinsing. Use cold-water dyes for delicate fabrics and follow dye manufacturer instructions carefully.
- Note: Always test and consider professional dye services for expensive garments.
Styling Formulas: Turning Personalized Pieces into Daily Outfits
Once pieces are altered and personalized, use reliable styling formulas to create confident, flattering outfits. These formulas work for different body shapes and can be adjusted seasonally.
- Formula 1 — The Defined Waist: Personalized wrap dress + medium-width belt + low block heel + minimal necklace. Belt emphasizes natural waist and lengthens the leg line.
- Formula 2 — The Layered Column: Longline cardigan with embroidered hem + slim-leg trousers + ankle boots + long pendant. The vertical line elongates; textured hem adds interest.
- Formula 3 — The Tailored Edge: Structured blazer with swapped buttons + high-rise trousers + pointed flats + silk scarf. Blazer gives shape; button choice coordinates with shoes for polish.
- Formula 4 — Weekend Ease: Relaxed linen shirt + wide-leg cropped pants + slip-on sneakers + tote bag. Roll cuffs to reveal patterned inner trim for a personal touch.
- Formula 5 — Weekend-to-Evening: Knit top with embroidered neckline + midi skirt + statement belt + heeled boot. Add a brooch to the skirt or jacket for evening sparkle.
Proportion and Balance: Specific Tips for Plus-Size Styling
- Define one focal point per outfit, usually the waist or neckline, to avoid visual overwhelm.
- Choose vertical details (long necklaces, vertical stripes, long cardigans) to lengthen the torso.
- Swap out wide belts and choose medium-width to avoid cutting the torso line too harshly.
- Ensure shoulder seams sit at your shoulder bone; use shoulder pads sparingly to refine silhouette when tailoring larger jackets.
- Use monochrome layering to create a longer line, and introduce texture or trims at the hem or cuff to personalize without adding bulk.
Creating a Signature Capsule Wardrobe Centered on Flying Tomato
Building a capsule helps you get more wear and expression from each personalized piece. Here’s a 12–15 item capsule blueprint that works across seasons.
- Two neutrals: e.g., navy and cream or black and olive
- Two accent colors: choose one warm and one cool to diversify outfit options
- Core items:
- One structured blazer (personalize with buttons or lining)
- One wrap dress or shirtdress (embroidery or belt)
- Two tops: one knit, one button-down (swap buttons, add trims)
- Two bottoms: trousers and a skirt
- Two outer layers: light jacket and heavier coat
- Accessories: one pair of boots, one pair of flats, one bag, one scarf/belt
- Action: Personalize the blazer and one top so they become instantly recognizable pieces in your capsule.
Seasonal Adaptations and Weather-Proofing
Make small changes to keep personalized pieces wearable year-round.
- Spring: Lighter trims and pastel embroidery; pair with breathable liners or thin camisoles.
- Summer: Remove heavy linings in jackets, choose breathable natural fiber accents, or use detachable trims like brooches.
- Fall: Add warm-toned piping and swap to heavier buttons; layer with knits that coordinate with embroidery colors.
- Winter: Line coats with a patterned or insulated lining for warmth and a surprise pop when opened.
Care, Repair, and Ethical Longevity
Personalization is sustainable only when followed by care. Use techniques that extend life and minimize environmental impact.
- Wash smart: cold cycles, gentle detergents, and air drying whenever possible.
- Store for shape: hang structured garments on wide hangers and fold knits to prevent stretching.
- Repair promptly: fix seams, re-stitch patches, and replace worn elastic before garments become unwearable.
- Visible mending is on trend and reduces waste; use complementary fabrics or reclaimed pieces to keep materials in circulation.
- When retiring a piece, upcycle into accessories—scraps become headbands, patchwork bags, or quilted panels.
Budgeting Your Personalization: Cost vs Value
Personalization and tailoring can feel expensive, but when viewed as investment in longevity and a unique wardrobe, the return is high.
- Low-cost projects: buttons, patches, and small embroidery ($5–$40).
- Mid-range: hemming, basic tailoring, piping additions ($30–$100).
- High-range: full relining, major construction changes, professional dyeing ($120–$400+).
- Tip: Start with one low-cost and one mid-range change per season. Over time the cumulative cost is lower than replacing garments frequently.
Sourcing Sustainable Materials and Tools
Choose eco-conscious supplies to match the sustainability of your Flying Tomato pieces.
- Buttons: reclaimed or vintage buttons from thrift stores, online marketplaces, and button suppliers offering recycled materials.
- Thread and trims: organic cotton thread, recycled polyester thread for stretch fabrics, and low-impact dyes.
- Patches and appliqué: fabric scraps from upcycled garments or deadstock fabrics from local sewing groups.
- Tools: basic sewing kit, embroidery floss, small iron, and a quality pair of fabric scissors are the best multi-season investment.
Working with Professionals: What to Ask Your Tailor or Seamstress
- Bring reference images and the exact look you want; clarity saves time and cost.
- Ask about fabric reinforcement for altered seams, especially on knits and lightweight linens.
- Request a basted fitting before final stitching to adjust proportions in real time.
- Discuss timelines and care instructions post-alteration to maintain the finish.
Realistic Timeframes for Projects
- Simple DIY swaps and visible mending: 15 minutes to 2 hours.
- Intermediate sewing projects like piping or small embroidery: 2–6 hours depending on complexity.
- Professional tailoring and relining: 3 days to 3 weeks depending on shop workload.
SEO and Shopping Tips to Find the Right Flying Tomato Pieces
To get the most personalize-ready pieces, search with intent and prioritize fabric and shape over trend-driven items.
- Search keywords: plus-size sustainable wrap dress, Flying Tomato organic cotton blazer plus size, Flying Tomato Tencel shirtdress.
- Filter by fabric type and read product descriptions for construction details like double stitching and seam finishes.
- Check customer photos and reviews for real-world fit information before purchasing.
Frequently Asked Questions
-
Q: Is it safe to dye Flying Tomato fabrics at home?
A: Many pieces are natural fiber or blends that accept low-impact dyes, but always test a hidden seam and follow dye instructions carefully. For expensive garments, consult a professional dyer. -
Q: How do I keep personalization sustainable?
A: Use reclaimed materials, choose reversible or removable personalization (like buttons or pins), and prioritize repairs over replacement. -
Q: Can I alter knit garments without changing their stretch?
A: Yes, but alterations must respect the knit's recovery. Use stabilizing stitches and a tailor experienced with knits to avoid sag. -
Q: How do I select colors for accents that work with my wardrobe?
A: Build a palette of two neutrals and two accent colors. Choose trims and embroidery that complement these tones for maximum mix-and-match potential.
Wrap-Up: Small Changes, Big Impact
Turning Flying Tomato staples from reliable basics into signature pieces is both a creative act and a sustainable practice. With thoughtful tailoring, mindful embellishment, and a capsule approach to styling, you can make garments that fit better, last longer, and feel unmistakably yours. Start with one garment, try one personalization, and build from there. Over time you’ll create a wardrobe that tells your story and honors the environment.
Action Plan: Your Next 30 Days
- Week 1: Choose one Flying Tomato piece to personalize. Take detailed measurements and decide on one fit change.
- Week 2: Select a personalization technique (button swap, visible mending, or piping). Gather materials or book a tailor.
- Week 3: Execute the personalization. Photograph the process for reference and future projects.
- Week 4: Build three outfits centered on the new piece using the styling formulas above. Rotate and note what works for adjustments later.
Closing Thought
Personalization is a powerful way to express identity while supporting thoughtful consumption. Flying Tomato’s sustainable plus-size pieces are a strong starting point—well-made, inclusive, and adaptable. With the strategies in this guide, you can transform wardrobe staples into signature statements that are practical, stylish, and built to last.