


Introduction: Why Personalizing Flying Tomato Pieces Is a Win for Fit and Planet
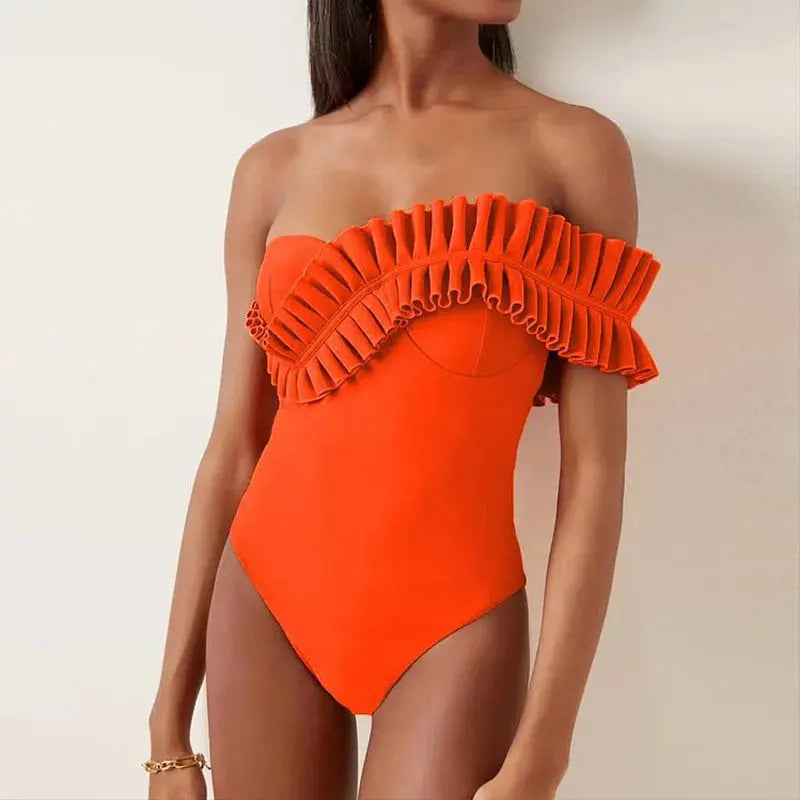
Flying Tomato designs with plus size bodies in mind, offering flattering silhouettes and playful prints. Still, off-the-rack pieces rarely fit every curve perfectly. Tailoring a garment at home is an empowering, affordable, and sustainable way to make clothes look and feel made for you. This extended guide dives deep into practical DIY alterations, fabric-specific techniques, troubleshooting, styling ideas, and sustainability tips so you can confidently customize your Flying Tomato dresses, tops, skirts, and bottoms.
How Alterations Help on Multiple Levels
- Fit: Properly adjusted garments accentuate your favorite features and minimize areas you prefer to downplay.
- Cost: Small alterations extend use and replace the need to buy multiple sizes or brand new items.
- Sustainability: Repairing and altering reduces fashion waste and the carbon footprint of replacing items.
- Body positivity: Tailoring allows you to celebrate and shape clothes around your unique proportions.
- Style: Simple tweaks can transform a piece from casual to polished, increasing outfit versatility.
Understanding Flying Tomato Fabrics and Cuts
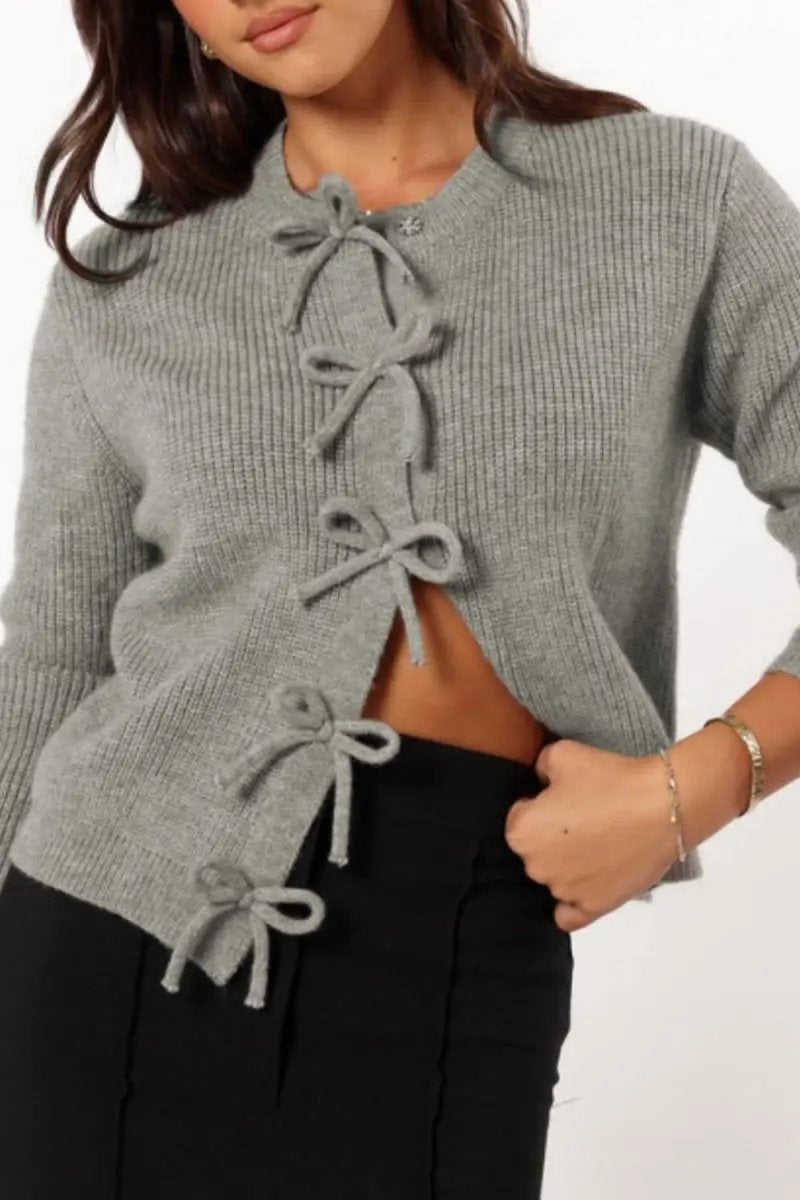
Before altering, know what you are working with. Flying Tomato commonly uses knits, stable woven blends, and stretch woven fabrics in their plus size lines. The construction often includes elastic casings, modest shaping, and playful details like ruffles or lace trim.
- Knit fabrics and stretch jerseys: Soft and forgiving, they benefit from stretch stitches and gentle handling.
- Ponte and thicker stretch blends: Hold structure well and can take more dramatic tailoring such as darts and shaping seams.
- Lightweight woven fabrics: Nice for drape, but watch for fraying; finish seams to prevent unraveling.
- Decorative trims and linings: Remove or work around trim when altering so the finished piece stays cohesive.
Tools and Materials: What To Gather
Invest in a few quality basics and you can do most wardrobe transformations at home.
- Measuring tape and a small ruler or seam gauge
- Tailor's chalk, washable fabric marker, or pins to mark alterations
- Fine and heavy-duty fabric scissors; small seam snips
- Seam ripper
- Pins and clips
- Hand-sewing needles and thread that matches your garments
- Sewing machine with stretch stitch or zigzag capability
- Iron and pressing ham or tailor's clapper for shaping seams
- Fusible interfacing, hem tape, and clear elastic
- Elastic in various widths, bias tape, and twill tape
- Optional: serger for professional seam finishing; tailor's dummy or dress form for precise pinning
Budget and Where to Buy
- Basic sewing kit: under 30 dollars from big box stores or online.
- Decent entry-level sewing machine: 150 to 400 dollars. Look for stretch stitch options.
- Serging or professional finishing can be done at maker spaces or by tailors if you do not plan to invest.
Detailed Measurement Guide
Good measurements are the foundation of any successful alteration. Measure while wearing the undergarments you plan to use with the garment and stand relaxed.
- Bust: Wrap the tape at the fullest point of the chest. Keep it parallel to the floor.
- High bust: Measure above the bust, under the arms and around the back of the shoulder blades.
- Underbust: Useful for empire or under-bust waistlines.
- Waist: Natural waistline, usually where you bend side to side.
- High hip: About 3 to 4 inches below the waist. For some bodies measure where skirt hips sit.
- Full hip: Around the largest part of the hips and seat.
- Torso length: From the base of the neck at the shoulder to the hem for dresses and rompers.
- Shoulder width: From shoulder point to shoulder point across the back.
How to Prepare the Garment for Alteration
- Wash and dry the garment as you normally would to account for any shrinkage before altering.
- Work on a flat, well-lit surface and press the garment to remove wrinkles that hide true fit lines.
- Turn the garment inside out for pinning and fitting. This makes it easier to mark seam lines and see how internal seams will sit.
- Use a dress form if you have one; otherwise, pin while wearing the garment and have someone help you mark where you need intake or release.
General Alteration Principles
- Always take less first. Reduce fabric in 1/4 to 1/2 inch increments and try on repeatedly.
- Pay attention to balance. If you take fabric from one side seam, mirror the change on the other side and on both front and back where appropriate.
- When altering curved areas like armholes or busts, use small, gradual adjustments and test the range of motion after each change.
- Finish raw edges after finishing the alteration to prevent fraying and maintain longevity.
Step-by-Step Alterations for Dresses
Different dress styles need different approaches. Below are detailed steps for common problems.
Fix Gaping at the Bust
- Identify the gap while wearing the dress. Mark the center of the gap with a pin.
- Add a bust dart: Turn the dress inside out and mark a wedge-shaped dart from the side seam toward the bust apex. Stitch the dart and press toward the side seam. Trim excess fabric if needed and finish raw edges.
- If the dress has a center front seam, consider moving a button or adding a small snap at the bust point.
Create or Deepen Waist Shaping
- Pin at the waistline while wearing to define the new seam. Make small tucks or take in the side seams equally on both sides.
- For lightweight fabrics, add a narrow waistband or a thin elastic under the fabric at the waist to create gentle gathers without bulk.
- For structured dresses, add or reposition darts from the waist to the bust or hip to sharpen fit.
Shorten or Lengthen Hemlines
- Shortening: Mark desired length, add a 1/2 inch to 1 inch hem allowance, fold, press, pin, and stitch. For knits use a stretch stitch and stretch the hem slightly while sewing to prevent wavy hems.
- Lengthening: Let down the hem if there is extra fabric inside. If not, add a complementary fabric band, lace, or contrasting ruffle to lengthen sustainably by upcycling scraps.
Step-by-Step Alterations for Tops and Blouses
Fixing Shoulder Fit and Strap Lengths
- To shorten straps, unpick the back strap attachment and resew at a shorter length. For non-detachable straps, pin a tuck at the shoulder seam from the inside and restitch.
- To lower shoulders or narrow the back yoke, reduce the shoulder seam by unpicking and resewing with less width, checking arm mobility after each change.
Improving Sleeve Fit
- Tight or loose sleeves can be adjusted by taking in side seams into the sleeve seam or adding small gussets for extra movement.
- For puff sleeves, reduce the gathering width to avoid exaggerated volume that overwhelms a plus size frame.
Step-by-Step Alterations for Bottoms
Tapering and Slimming Pant Legs
- Put the pants on inside out and pin the desired taper from knee to hem while standing. Make sure both legs mirror each other in length and contour.
- Stitch with a straight stitch and finish raw edges. Topstitch if the fabric is thick to secure the new seam.
Waistband Adjustments
- For elastic waistbands: open a small section of the casing, shorten or replace the elastic, and sew closed. Use a safety pin to feed elastic through the casing.
- For fitted waistbands with zippers: take in at the center back seam first. If more reduction is needed, you may need to remove and re-set the zipper. This is a step that benefits from moderate sewing experience.
Crotch and Rise Corrections
- If the crotch is too long and fabric pools, take in some length from the front and/or back rise by resewing the crotch seam. Pin while wearing to determine exactly how much to remove.
- Be conservative. Small changes yield big comfort differences and are reversible if you baste first.
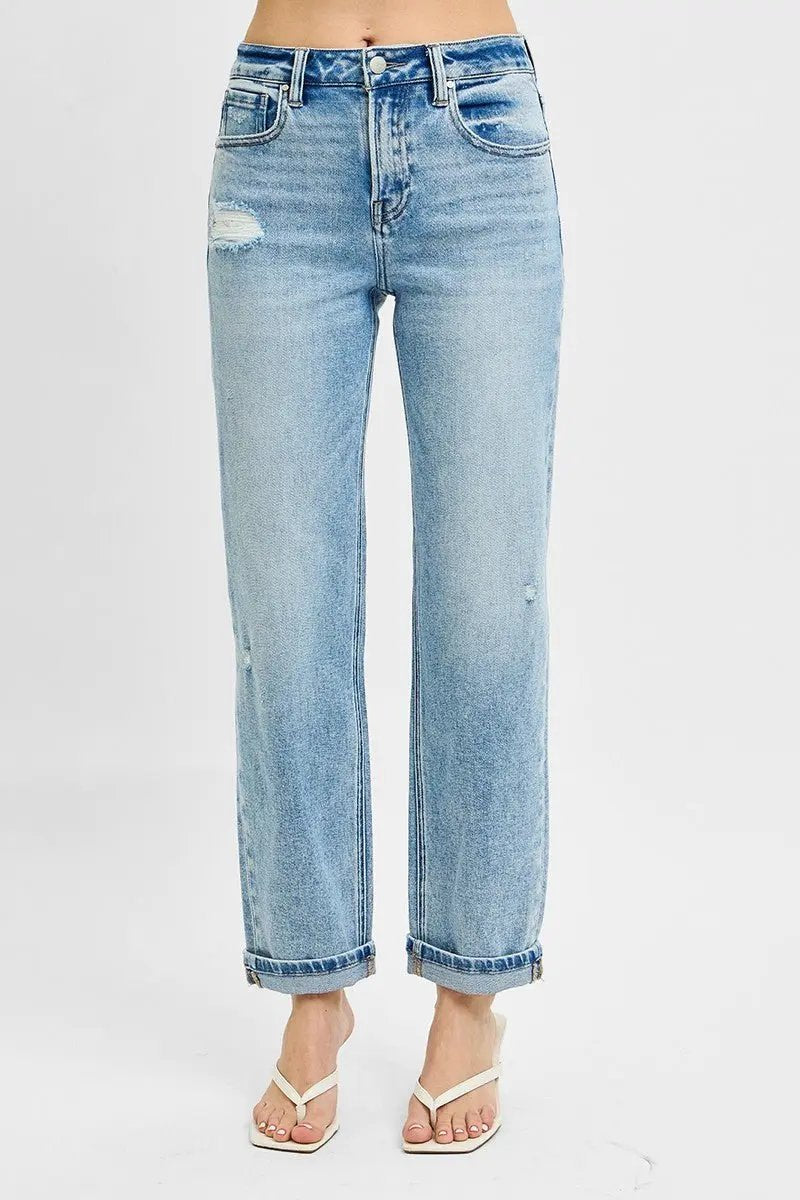
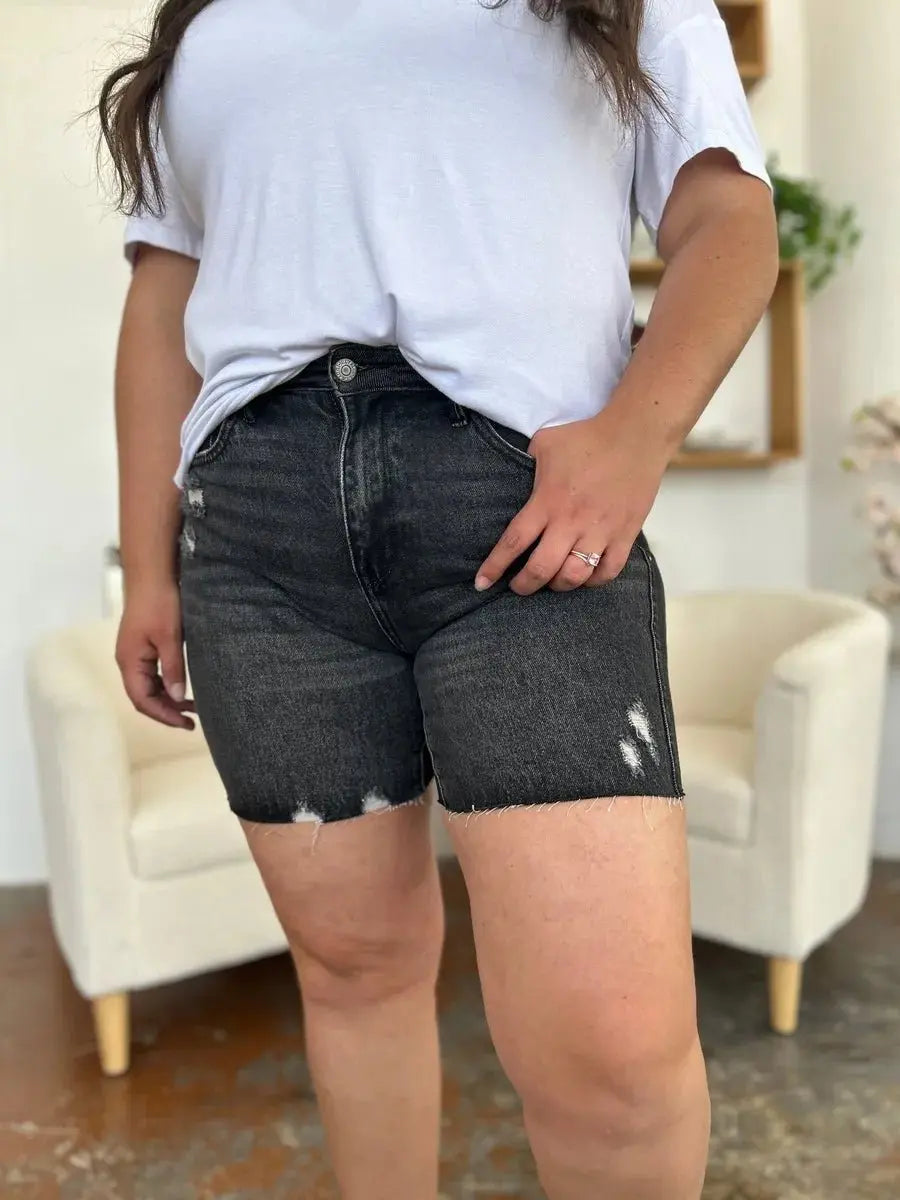
Altering Jeans and Denim
- Jeans have less seam allowance, so plan smaller adjustments or add side panels from matching denim or stretch inserts for comfort.
- To take in the waist, open the back waistband, adjust the center back seam, and reattach the waistband, moving the zipper if needed.
- For tapered legs, a jeans-friendly needle and strong thread are essential. Use topstitching to mimic original construction.
Working with Knits and Stretch Fabrics
Knits behave differently from wovens. They need stretch-friendly techniques to maintain comfort and drape.
- Use a walking foot or stretch stitch to avoid skipped stitches.
- For hems, twin needles produce a professional-looking stretch hem on many machines.
- When adding darts to knits, keep them short and shallow, or add vertical shaping seams for smoother shaping without bulk.
Swimwear and Activewear Tips
- Use polyester or nylon thread and stretch stitches to preserve elasticity.
- For strap adjustments, use a small, secure box stitch at the attachment point and finish all edges. Consider adding a hidden shelf bra for extra support.
- Fusible tape is useful for temporary fixes, but test for heat sensitivity first.
Replacing a Zipper: A Practical Walkthrough
- Remove the original zipper carefully with a seam ripper, preserving surrounding fabric.
- Press the seam allowance flat and baste the new zipper in place. Test the fit and function before final stitching.
- Topstitch close to the zipper tape to secure. For dressy garments, invisible zippers create a smooth finish, while exposed zippers can be a design feature.
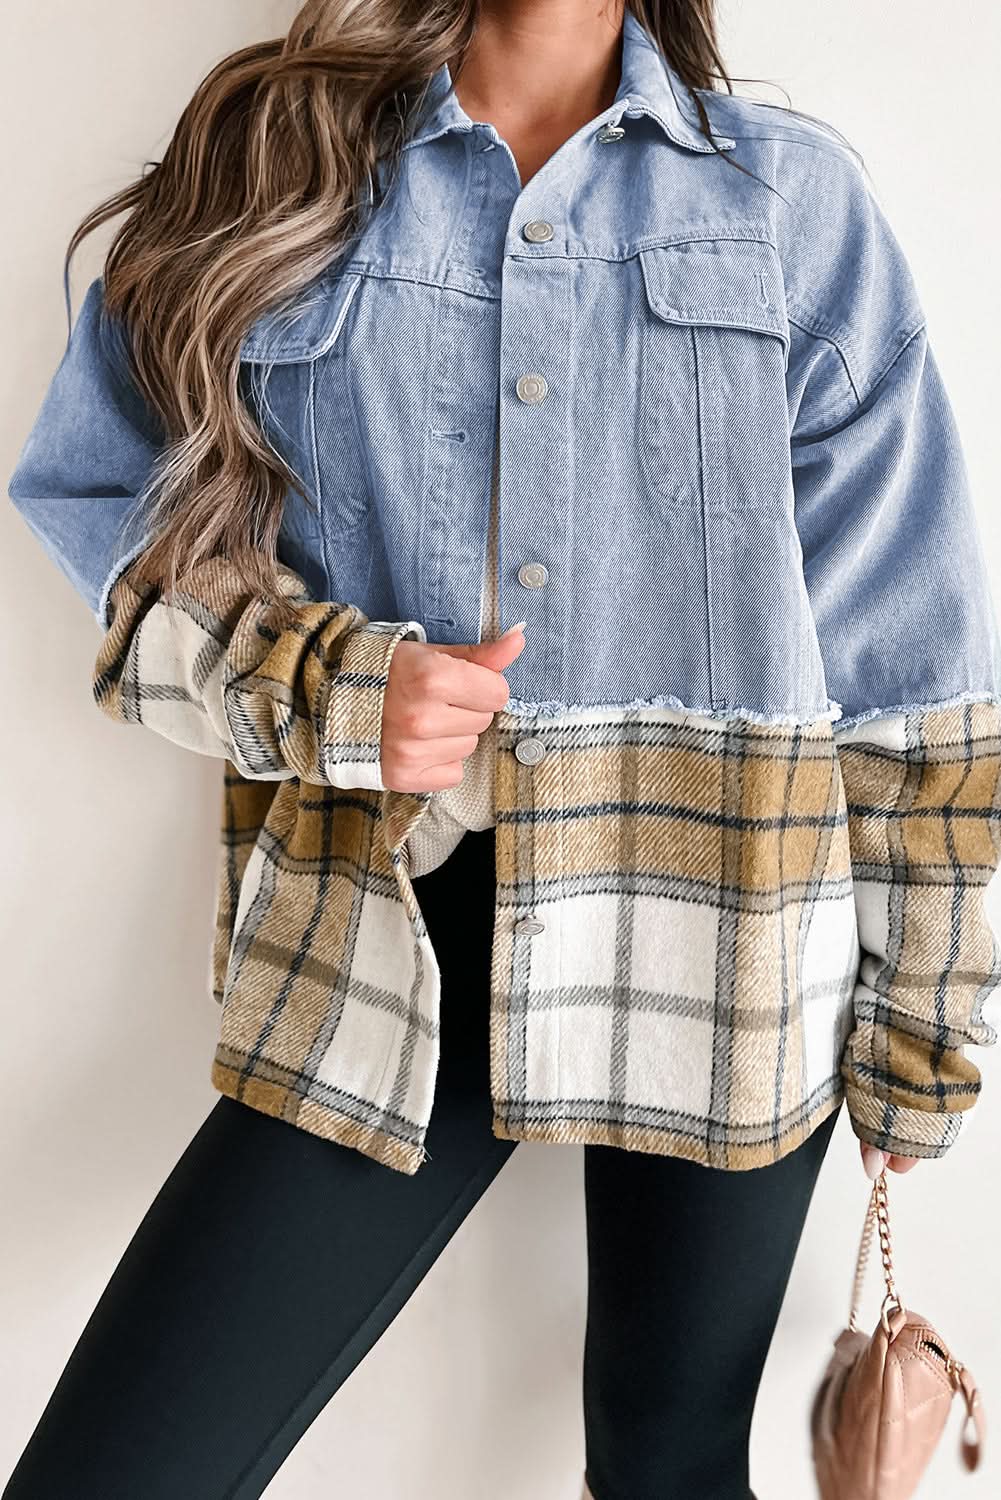
Adding Panels and Inserts for Fit or Style
When a garment is too small across the bust, hip, or waist, consider adding fabric panels.
- Use side seams as insertion points or add a center back panel for maximum width increase.
- Choose matching fabric for a subtle fix or contrasting prints for a fashion-forward statement and clear upcycling story.
- Stabilize seams with interfacing when adding new fabric types to prevent sagging.
Creative Conversions and Styling Hacks
- Convert a fitted dress into a wrap by adding ties at the waist and creating a partial front overlap.
- Add a self-belt or sewn-in ties to control fit and create shape without structural changes.
- Turn a dress into a skirt by removing the bodice and adding a new waistband, using the original zipper if present.
- Create a layered look by attaching a short peplum to a top or adding an underpanel to a sleeveless dress as a racerback layer.
Finishing Like a Pro: Pressing, Topstitching, and Edge Care
- Press seams open for wovens and to the side for knits as appropriate. Use a pressing cloth for delicate fabrics.
- Topstitching secures seams and gives a finished look; match the stitch length to the fabric and style.
- Finish raw edges with a serger, zigzag stitch, or bias binding to prevent fray and ensure durability.
Troubleshooting Common Problems
- If the alteration makes the garment uncomfortable, release a small amount of seam allowance and rebalance.
- Bubbled hems on knits usually mean the hem was stretched while sewing. Re-stitch with less pull and use a ballpoint needle.
- Visible puckering after topstitching can be corrected by reducing stitch tension and using the appropriate needle and thread weight.
- If darts or seams twist, check that seam allowances are even and press the seam flat before finishing.
When You Should See a Professional
Many alterations are achievable at home, but professional tailors are best for:
- Complex structural changes like resizing multiple pattern pieces.
- Rebuilding fitted linings and changing set-in sleeves or armhole shapes extensively.
- Expensive or sentimental garments where risk should be minimized.
- When you want utmost precision for a special event or daily professional wardrobe.
Cost Considerations: DIY vs Tailor
- Simple hems, strap adjustments, and elastic replacements are inexpensive DIY projects.
- Complex zipper resets, major reshape work, and lined garments often cost more to fix at a tailor but may save time and ensure quality.
- Consider learning one new technique every season to gradually take on more elaborate projects and save money long-term.
Sustainable Practices and Upcycling Ideas
- Keep trimmed fabric scraps for patching or embellishments later rather than discarding them.
- Transform worn dresses into skirts, tops into headbands, or scale up fabric into coordinated outfits to reduce new purchases.
- Donate or swap altered outgrown garments rather than throwing them away.
- Repair small holes and seams early to extend garment life and avoid full replacement.
Styling Tips After Alteration
- Balance proportions: after taking in a dress, pair it with structured outerwear to keep a refined silhouette.
- Use belts and accessories to emphasize changes and make the most of newly defined waistlines.
- Layer altered pieces with neutrals to highlight the alterations and keep outfits versatile.
- Try different bras and undergarments post-alteration to find the best combination for support and appearance.
Case Studies: Real Alteration Scenarios
- Shift dress that gaped at the bust: Added two shallow darts and a small snap at the bust; result was cleaner neckline and fewer wardrobe malfunctions.
- Elastic waist skirt that sat too low: Replaced elastic and moved casing up 1 inch; improved comfort and silhouette.
- Ponte dress with boxy waist: Inserted waist darts and added a narrow internal elastic for shaping; transformed from shapeless to flattering.
FAQ
- How much can I realistically alter at home? Most hobby sewers can handle hems, darts, side seam adjustments up to 2 inches per seam, elastic replacements, and strap work. Bigger structural changes are possible with practice.
- Will altering void the garment warranty? Usually not, but check brand return or repair policies. Some stores accept returns only if alterations are not done, so alter after you decide to keep the piece.
- What if I make a mistake? Use a seam ripper to undo stitches and baste your corrections before final sewing. Practice on scrap fabric first.
- How do I match fabric and thread for mending? Keep a small swatch from inside seams for future color matching, or bring the garment to a store when buying thread.
Resources and Learning Paths
- Online video tutorials on specific skills, like inserting zippers or sewing darts. Look for recent tutorials in 2024 and 2025 to match modern machines and fabrics.
- Local sewing groups, maker spaces, and community colleges offer hands-on classes for a few hours to a few sessions.
- Books on pattern adjustment and fit for plus size bodies provide deeper technique and measurement strategies.
- Follow plus size sewing bloggers and social accounts for project inspiration and pattern recommendations tailored to fuller figures.
Practical Checklist for Your First Three Alterations
- Pick three Flying Tomato pieces you wear often but that need small changes.
- Measure and write down current garment measurements and desired measurements.
- Gather tools and practice one technique on a scrap or less loved item first.
- Alter one piece completely, wear and evaluate for a week, then adjust your process for the next piece.
Final Thoughts: Fit Is a Form of Self Care and Sustainability
Altering Flying Tomato pieces at home is a practical way to make fashion feel personal, respectful of your body, and friendlier to the planet. Small investments in time and a few tools unlock the potential of garments you already love. With step-by-step practice, you can turn simple adjustments into wardrobe transformations that feel bespoke. Start small, build skills, and celebrate each successful refit as both a style win and a sustainable choice.
Call to Action
Ready to begin? Choose one easy project, gather the tools on the checklist, and take a before photo. Share your results with a community or journal your progress. As you practice, you will find that tailored clothing not only fits better but also connects you to a slower, more thoughtful approach to fashion in 2025 and beyond.
Additional Links and Keywords for Further Reading
- Search terms to research: flying tomato alterations, plus size sewing tutorials, how to add darts, how to take in side seams, denim tapering guide, alter knit garments, sustainable clothing repair
- Look up local sewing studios, community garment repair cafes, and upcycling workshops to expand skills in person.
Make these alterations part of your regular wardrobe routine and you will see that tailored, flattering, and sustainable dressing is within reach for every body.