


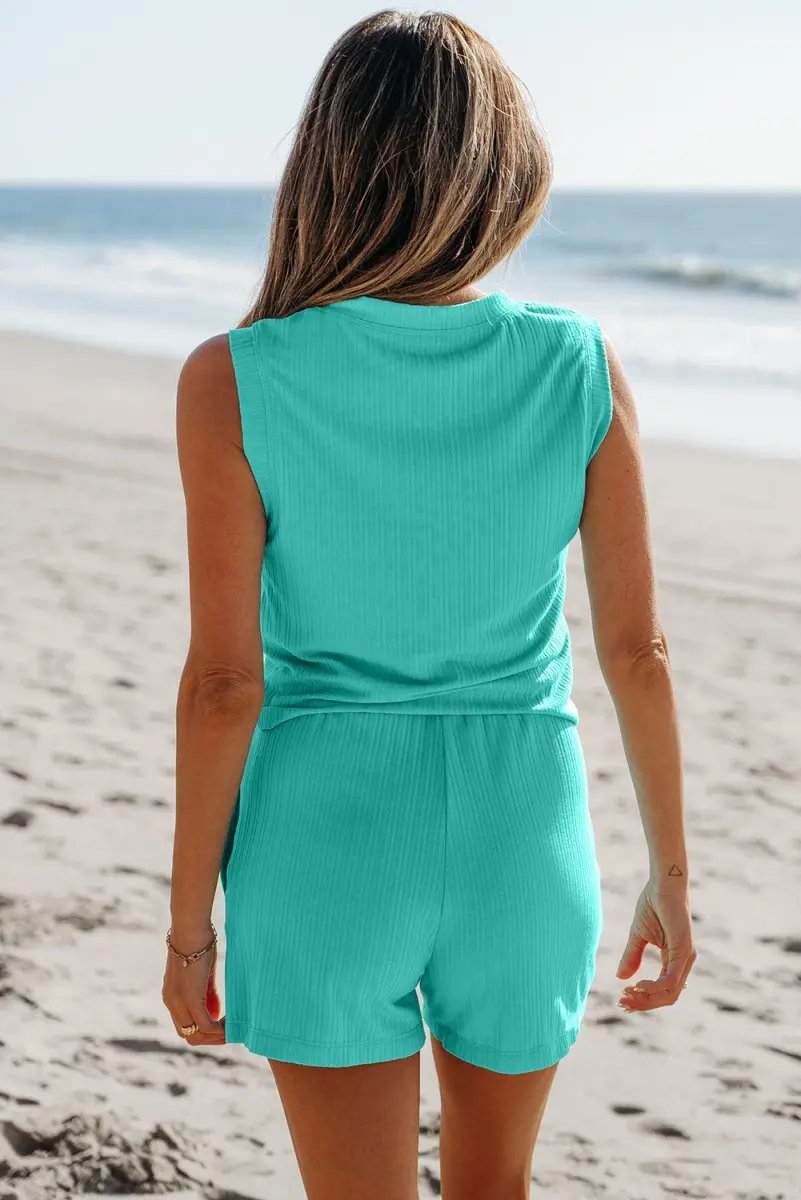


Introduction: The Repair-to-Runway Mindset
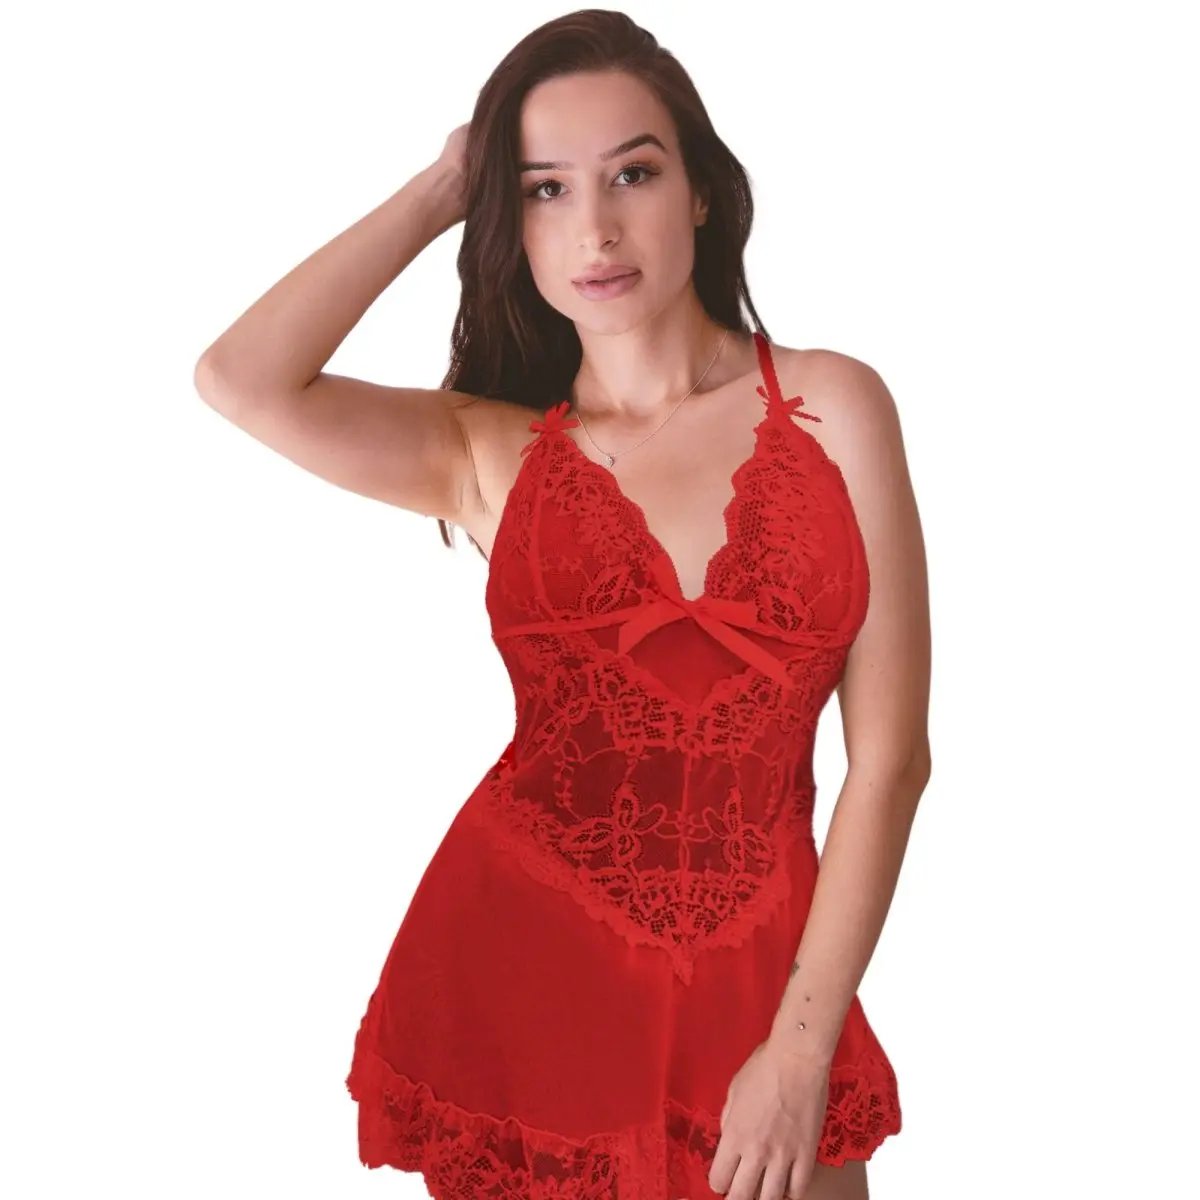
Flying Tomato has built a devoted following for its flattering plus-size silhouettes, playful prints and approachable price point. But even the best-loved garments can feel tired, ill-fitting or slightly damaged. Rather than replacing them, Repair-to-Runway invites you to upcycle, restyle and reimagine these pieces into a wardrobe that is uniquely yours, more sustainable and full of creativity.
Why Upcycle Flying Tomato Pieces?
- Reduce waste: Extending the life of garments keeps them out of landfill and lowers the demand for new production.
- Save money: Small repairs and creative changes are usually far less expensive than buying new pieces.
- Get a better fit: Alterations tailored to your body increase comfort and confidence.
- Create unique style: Customized details ensure your clothes stand out and match your aesthetic.
How to Use This Guide
This article is a deep-dive resource with practical steps, tools, techniques and styling ideas. Read through or jump to the sections that match your skill level: quick repairs, beginner projects, intermediate transformations and advanced reconstructions. Each project includes time, skill level and materials so you can plan accordingly.
Start Here: Wardrobe Audit and Fabric Identification
Before you alter anything, assess each Flying Tomato piece with three goals: suitability, fabric behavior and end use.
- Suitability: Is the garment structurally sound? Do seams, hems and closures hold? If yes, it’s a strong candidate for upcycling.
- Fabric behavior: Identify fibers — natural fibers like cotton, linen and viscose take dye and breathe well. Polyester and blends require different tools and may not dye predictably.
- End use: Decide if the piece will be everyday wear, office-ready or special occasion. That guides the type of modification you choose.
Quick Fabric ID Guide
- Cotton: Breathable, easy to sew and dye. May shrink if heat-treated.
- Linen: Textured, great for structured shapes, wrinkles easily and is absorbent for dyes.
- Viscose/Rayon: Drapey and soft but can weaken when wet; be gentle with washing.
- Polyester: Durable and wrinkle-resistant but less absorbent; use fabric paints or dyes formulated for synthetics.
- Blends: Behavior varies; test a hidden area before dyeing or heavy alterations.
Tools, Materials and Setup
A good work setup speeds projects and produces better results. Start with a tidy space, good lighting and these essentials.
- Basic sewing kit: assorted needles, sharp fabric scissors, thread in neutral and accent colors, seam ripper and pins.
- Sewing machine: A reliable machine with straight and zigzag stitches; stretch stitch if you work with knits.
- Measuring tools: tape measure, ruler and tailor's chalk or fabric markers.
- Iron and pressing surface: pressing is essential for professional-looking seams and hems.
- Extras: fusible interfacing, bias tape, elastic, zippers, hooks and eyes, decorative trims, embroidery floss, fabric glue and patches.
Quick Repairs: Fast Fixes That Look Polished
These are the easiest ways to refresh a piece before committing to a bigger change.
-
Button swaps
Replace dated or missing buttons with modern alternatives. Use a button that complements fabric scale and weight. Secure with an extra small felt or fabric patch on the inside for high-stress points.
-
Hemming refresh
Let down or take up hems to modernize lengths. Blind hems look seamless on dresses and skirts, while a clean narrow hem works well on tops. Use an iron and press cloth for crisp edges.
-
Invisible patching
Thin or worn areas under arms, on inner thighs or at seams can be reinforced with fusible interfacing on the wrong side. For knits, use a knit-friendly interfacing or a small hand stitch to avoid stiffness.
-
Quick stain conceal
Small stains can be camouflaged with appliques, embroidered motifs or decorative patches. Choose placements that look intentional, like near hems or pockets.
Beginner Upcycle Projects: Low Risk, High Reward
These projects require minimal tools and sewing skills and deliver major style upgrades.
Project 1 — Dress to Tunic or Top Conversion
Turn an oversized Flying Tomato dress into a flattering tunic or top.
- What you need: sewing machine or needle and thread, measuring tape, pins, scissors, iron.
- Steps:
- Try on the dress and mark the desired hem length with pins while standing or using a mirror.
- Add 1 to 1.5 inches for seam allowance and mark around the garment evenly.
- Cut the excess fabric evenly, then fold and press a 1/2-inch hem, fold again and stitch a narrow hem by machine or hand.
- Optional: add a casing and insert elastic for a gathered peplum or create a belt loop for a defined waist.
- Tips: Keep print direction and pattern matching in mind. If the bottom hem contains a wide border print, consider relocating that panel into a sleeve or pocket detail.
Project 2 — Sleeve Update: Puff, Crop or Remove
- What you need: same basic tools plus elastic for puffs and bias tape if finishing armholes.
- Common options and steps:
- Shorten: Mark desired sleeve length, fold 1/2 inch for a hem, press and stitch.
- Puff: Measure the sleeve opening circumference; cut a strip of elastic 1 inch shorter than that measurement. Fold the sleeve hem to create a casing, insert elastic and secure ends. The fabric above the casing will gather into a puff.
- Remove sleeves: Use a seam ripper to carefully detach sleeve. If the armhole is messy, finish with bias tape for a clean sleeveless look.
- Tips: When adding puff sleeves on plus-size shoulders, balance volume with a more fitted bodice or open neckline to avoid visual heaviness.
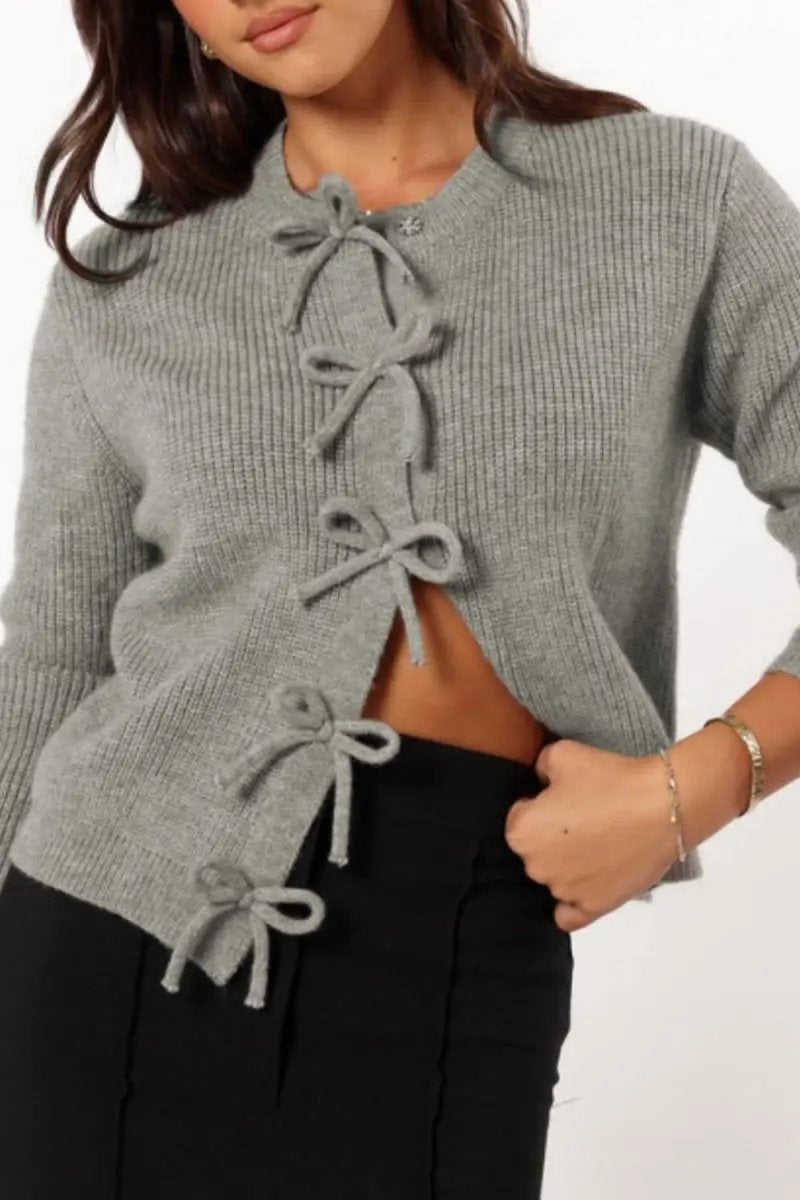
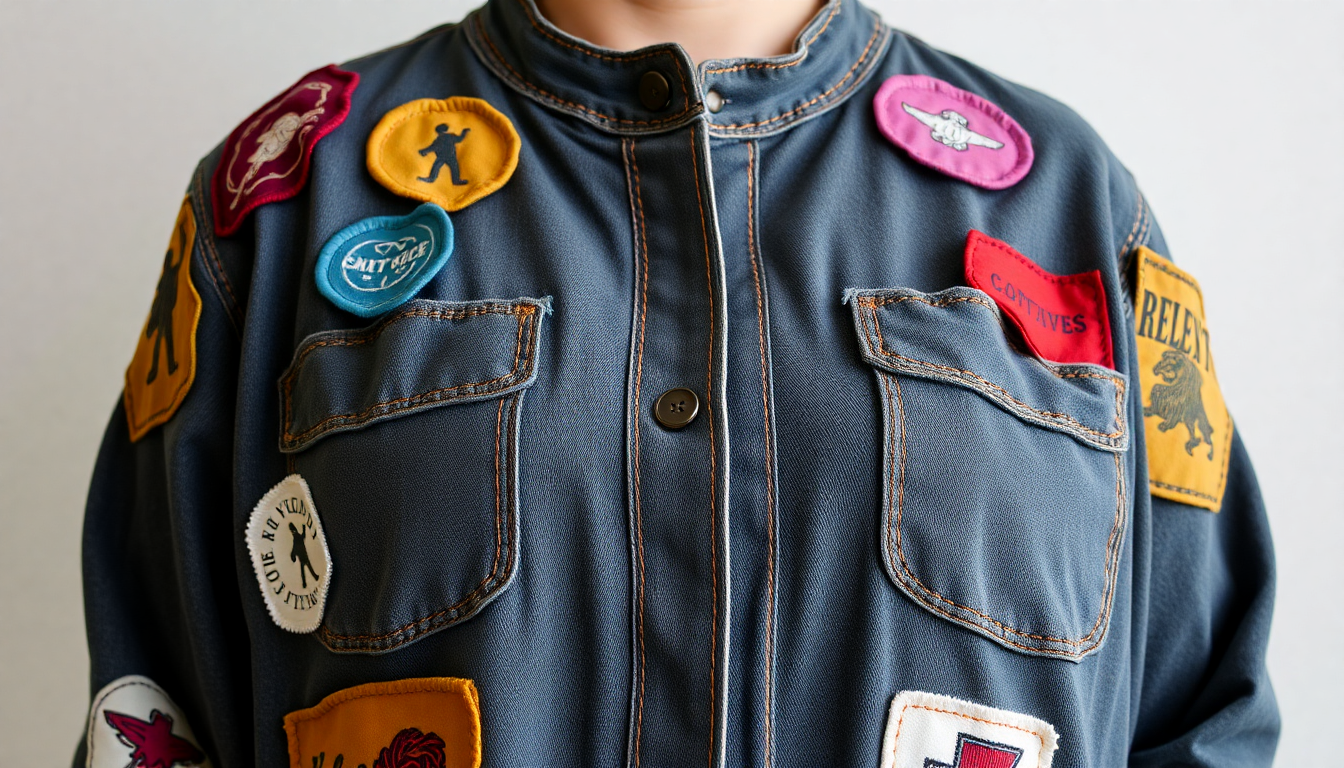
Project 3 — Visible Mending and Decorative Patches
- What you need: embroidery thread, needle, small patch fabric, scissors, stabilizer if needed.
- Steps:
- Choose a patch shape and fabric. Cut slightly larger than the hole or stain.
- Place the patch on the wrong side, baste in place, then sew with a decorative running stitch or blanket stitch from the right side.
- Add embroidery motifs around or across the patch to integrate it into the garment’s design.
- Tip: Use contrasting thread and geometric shapes to make a visible mend a deliberate design feature.
Intermediate Projects: Fit, Color and Structure
These projects take more time and skill but dramatically improve fit and style.
Project 4 — Refit for Better Shape
Adjust side seams, add darts or reshape a waist.
- What you need: sewing machine, pins, tailor's chalk, seam ripper, measuring tape and possibly a dress form.
- Steps:
- Pin the garment to the desired fit while wearing it or on a dress form. Take careful notes on how much you removed from each seam.
- Mark new seam lines with chalk and remove the garment to sew. Include 1/2 inch seam allowance unless you plan to let the seams out later.
- Sew the new seam, press, and finish raw edges with a zigzag stitch or serger.
- Common adjustments for plus-size bodies:
- Full-bust adjustment: add darts or let out center front seams if possible.
- Broad-shoulder adjustment: reduce shoulder width by trimming and resewing the shoulder seam, or add a small pleat at the sleeve head.
- Tip: Keep the original seams intact until you are satisfied with the new fit so you can reverse changes if necessary.
Project 5 — Color Refresh: Dyeing and Ombre Effects
- What you need: appropriate fabric dyes, buckets or a stainless-steel sink, rubber gloves, stirring tool, salt or fixative when required.
- Steps for fiber-reactive dye (natural fibers):
- Prewash the garment to remove finishes and shrinkage; don’t dry.
- Prepare dye according to instructions. Wet the garment thoroughly.
- For solid color: submerge fully and stir slowly to avoid unevenness. Rinse until water runs clear and launder separately.
- For ombre: dip portions progressively deeper into the dye, holding each section longer for a gradient. Rinse from lightest to darkest to reduce bleeding.
- Synthetic-friendly tips: use dyes formulated for polyester or consider fabric paints, pigment printing or heat-transfer methods for polyester-dominant blends.
- Safety: use gloves, protect surfaces and work in a well-ventilated area.
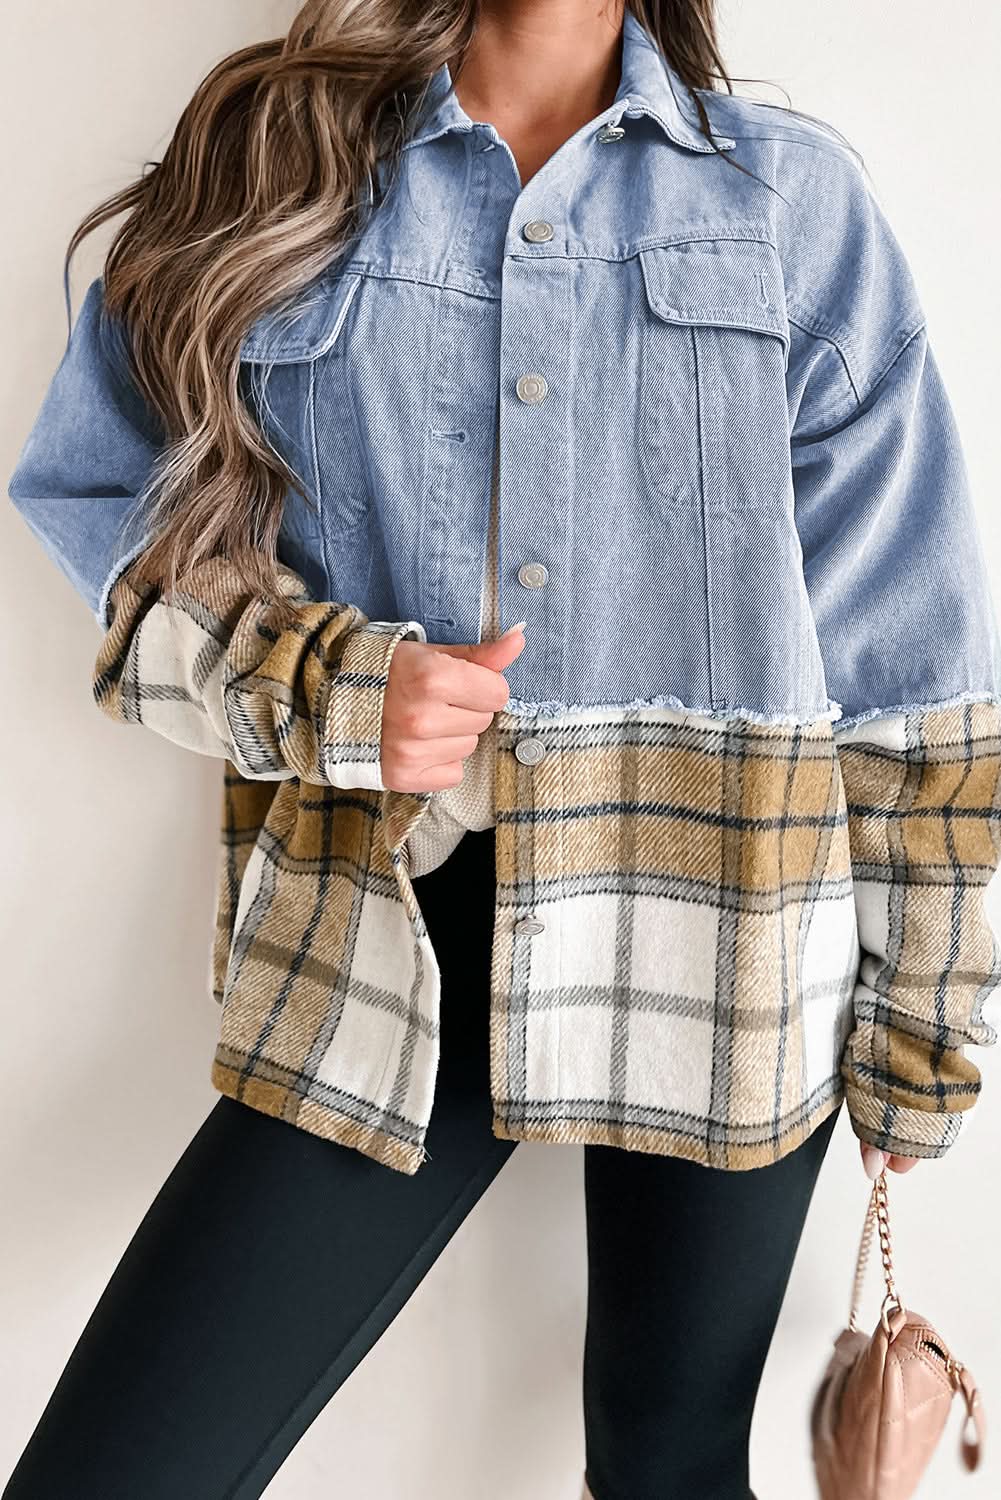
Project 6 — Add Contrast Panels and Insets
This technique can salvage a too-short tunic or slim a boxy silhouette.
- What you need: coordinating or contrasting fabric, sewing machine, pins, measuring tape and scissors.
- Steps:
- Decide panel placement: side slits, center front or back, or horizontal inserts.
- Cut the garment where you want the panel, leaving seam allowances. Cut your panel pieces to size plus seam allowances.
- Sew panels in place and topstitch for stability and a polished finish.
- Tip: Lightweight knit panels work well for added comfort, while lace or mesh adds decorative flair for evening looks.
Advanced Transformations: Reconstruct and Design
These projects are more ambitious — think deconstruction, combining garments into new silhouettes and couture-level finishes.
Project 7 — Combine Garments: Skirt-to-Jacket, Dress-to-Coat
- What you need: experience with pattern cutting, interfacing, heavier sewing equipment if available and lots of pins.
- Approach:
- Deconstruct the donor garments carefully, preserving seam lines and panels.
- Draft a rough pattern from a garment that fits well or use a basic block. Use deconstructed pieces as fabric sources to cut panels that match the new pattern sections.
- Use interfacing for collars, lapels and front facings to ensure structure, and add linings for comfort and longevity.
- Tip: Keep a running catalog of salvageable pieces like zippers, buttons and linings in a project box for future constructions.
Project 8 — Couture Details: Hand Embroidery, Beading and Tailored Finishes
- What you need: patience, quality hand-sewing needles, beads, threads and a stable hoop for embroidery.
- Approach:
- Plan motifs that complement the garment's print or silhouette. For plus-size garments, place ornamentation strategically to draw the eye and balance proportions.
- Use couching, satin stitch and French knots for texture. Anchor heavier beads with a backing for durability.
- Tip: Small, repeated motifs are more flattering than large, heavy embellishments across the bust or midsection.
Sizing, Fit and Plus-Size Sewing Considerations
Sewing for plus-size garments is about fit, balance and comfort.
- Take accurate measurements: high bust, full bust, underbust, waist, high hip and fullest hip. Use these to plan where ease will be added or removed.
- Allow appropriate ease: for woven tops allow 2–4 inches of positive ease at the bust depending on the desired fit; for knits, less positive ease is needed due to stretch.
- Darts and shaping: strategically placed darts and princess seams sculpt curves without excessive fabric removal.
- Neckline and armhole comfort: enlarge armholes slightly or soften seams for greater mobility. Use facings or bias to finish armholes cleanly.
Styling: Make Your Upcycles Wearable and Covetable
After you upcycle, how you style the piece will determine how runway-ready it feels. Build outfits around balance, proportion and focal points.
- Capsule idea: choose three tops, two bottoms and two outer layers you can mix. Make at least one upcycled piece the anchor.
- Day-to-night: pair a reimagined blouse with tailored trousers for day, then swap to a high-waist skirt and bold jewelry for evening.
- Play with proportion: pair a voluminous upcycled top with straight or tailored bottoms to balance volume.
- Accessories: belts, statement necklaces and structured bags instantly lift reconstructed garments.
Detailed Outfit Examples
- Weekend casual: shortened floral Flying Tomato dress worn as a tunic over straight-leg jeans, white sneakers and layered gold necklaces.
- Workwear: re-fitted blouse with added sleeve cuffs, tucked into high-waist wide-leg trousers, low block heel and a minimalist blazer.
- Evening: dress-to-coat reconstruction with added lining and hand-embroidered collar, paired with slim black trousers and bold heels.
Care and Maintenance: Keep Upcycled Pieces Looking Great
- Wash gently: hand-wash or use a machine's gentle cycle; cold water preserves shape and color, especially after dyeing.
- Dry carefully: air dry flat or hang to avoid distortion; low-heat tumble dry only if fabric allows.
- Repair proactively: mend small snags and reinforce seams before they become larger problems.
- Storage: store heavy items folded to avoid shoulder distortion; use breathable garment bags for embellished pieces.
Cost, Time and Resource Planning
Estimate realistically to avoid project fatigue.
- Quick fixes: 10–30 minutes, typically $0–$10 for small supplies.
- Beginner projects: 30 minutes to 2 hours, $0–$25 depending on trims and notions.
- Intermediate: 2–6 hours, $10–$80 for dyes, panels and interfacing.
- Advanced reconstructions: multiple sessions over days, $50–$300+ if you buy linings, specialty trims or have professional tailoring done.
SEO and Content Strategy: Share Your Repair-to-Runway Transformations
If you want your makeovers to reach a wider audience, treat your posts like small SEO projects.
- Keyword research: use variations like flying tomato upcycle, flying tomato alterations, plus-size upcycle, and repair-to-runway plus-size to cover search intent.
- Post structure: include a clear headline, a short intro, a materials list, step-by-step instructions, time and cost estimates, and before/after photos with captions.
- Image optimization: use descriptive file names and alt text such as flying-tomato-dress-conversion-ombre-tunic.jpg and alt text describing fabric, technique and color.
- Video content: record short process clips for reels and short-form platforms. A 30–90 second transformation video is highly shareable.
- Social hooks and hashtags: examples include #RepairToRunway, #PlusSizeUpcycle, #FlyingTomatoMakeover, #VisibleMending and #SustainableWardrobe.
Community, Classes and Where to Find Help
- Local alterations shops: great for structural changes, linings and invisible finishes.
- Sewing studios and maker spaces: offer classes and sewing machines for rent.
- Online tutorials and forums: search plus-size sewing, visible mending and upcycle tutorials for step-by-step visual guides.
- Supply sources: small fabric shops, thrift stores for salvage pieces and online sellers for trims and dyes.
Case Studies: Three Before-and-After Transformations
-
Case Study A — Floral Midaxi to Everyday Tunic
Problem: A midaxi dress had a dated silhouette and a small underarm stain. Solution: Shortened to tunic length, added invisible patch and a gathered peplum casing. Time: 1.5 hours. Cost: under $10 for elastic and thread. Result: a versatile layering piece paired with denim.
-
Case Study B — Button-Down to Tailored Blouse
Problem: Boxy fit and oversized shoulders. Solution: Took in side seams, reshaped shoulders, added darts and swapped buttons for a sleeker look. Time: 3 hours. Cost: under $20. Result: A polished work blouse that fits comfortably.
-
Case Study C — Printed Top to Statement Jacket
Problem: A large-print top felt too casual. Solution: Deconstructed top panels and combined with a plain knit to create a lightweight structured jacket, added interfacing and topstitch details. Time: 8+ hours. Cost: $60 including interfacing and lining. Result: An elevated outer layer ideal for evening events.
Troubleshooting Common Problems
- Uneven hems after cutting: recut with a longer seam allowance and use a hem gauge to ensure consistent width before stitching.
- Dye bleed or uneven color: always prewash the garment and test dye on a hidden swatch. For ombre, work quickly and rinse carefully to minimize spotting.
- Bunched sleeves after take-in: regrade the sleeve cap to redistribute ease; small easing stitches can help fit the cap smoothly.
- Stiff repairs on knits: avoid woven interfacing on knits; use stretch interfacing or hand-stitched reinforcement to preserve drape.
Frequently Asked Questions
-
Can I upcycle items with large prints?
Yes. Use prints as focal points by placing them on sleeves, collars or hems. Consider cutting panels to showcase the best parts of the pattern.
-
Will dyeing change the fabric feel?
Depending on the dye and fabric, some change in hand is possible. Follow instructions and use appropriate fixatives to minimize roughness.
-
How do I know if a fabric can be easily altered?
Check seam allowances, look for stable weaves and test a small stitch or sample before committing to major structural changes.
Ethical and Environmental Impact: Small Actions Add Up
Repairing and reusing garments reduces resource consumption and can shift shopping habits. Each repaired or repurposed item is one fewer piece demanding new water, energy and raw materials. Encourage community swaps, repair nights and skill-sharing to amplify impact.
Final Thoughts: Start Small, Think Big
Whether you begin with a button swap or plan a full reconstruction, the Repair-to-Runway approach is about intention. Start with one Flying Tomato piece this month. Learn a technique, document the before and after, and share your story. Every small repair is a vote for a more sustainable, creative and inclusive fashion future.
Call to Action
Choose one item to transform this weekend. Take clear before and after photos, write a short process note and post with the hashtag #RepairToRunway. Tag friends to start a mini-challenge: three upcycles in 30 days. Your creativity becomes part of a broader movement toward mindful style.